ArgoCD
I'm not saying I'm a lazy engineer when it comes to DevOps but in reality, I can be seen as lazy because I enjoy automation. I don't think anyone should spend an exorbent amount of time in their deployment of new code, merged code, or determining how to manage their resources. For myself, once I get a Kubernetes cluster running, the first task I usually perform is to install ArgoCD and have it configured to automate my releases.
We can talk more about deployment cycles but in general, the idea with ArgoCD is to have it automate your deployments. You want some security in being able to consistently push updates to your Kubernetes clusters with minimal downtime. What ArgoCD helps with is managing your deployment versions by modifying manifests. Think of them as documents to help you deploy applications on your Kubernetes clusters.
Installation
The simpliest method to install ArgoCD is through the Helm package manager which you can access via OpenLens. Before we begin, add the namespace argocd to the cluster.
In Helm Charts, search for argo-cd and select 'Install'

Change the namespace to argocd and select 'Install'

ArgoCD Login Secret
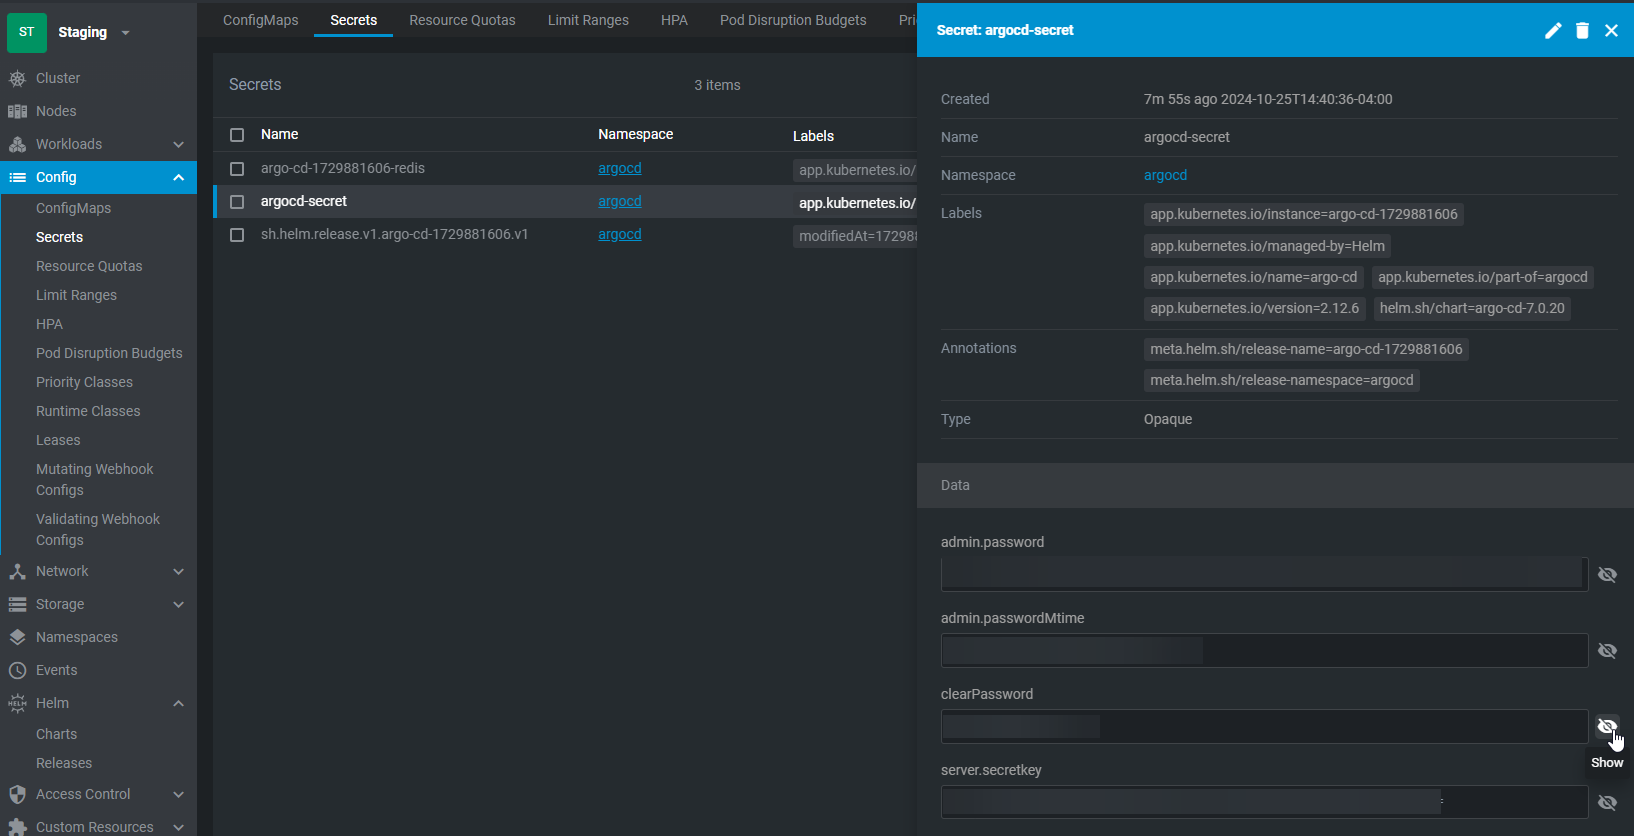
To get the user login for argocd, navigate to Config > Secrets. Change the namespace to argocd. For the secrets window, select argocd-secret. Select the closed eyes button and get the 'clearPassword'. Combined with username 'admin', this will be the login for the dashboard.
Accessing The Dashboard
ArgoCD on Kubernetes will not be accessible until you expose the port on the network. To do so, go to Network > Services. Change the namespace to argocd. We are looking for the service which contains http.
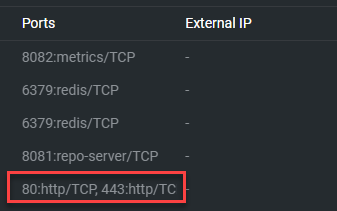
Select the service and edit it.

We need to edit the service from the following:
spec:
  ports:
    - name: http
      protocol: TCP
      port: 80
      targetPort: http
    - name: https
      protocol: TCP
      port: 443
      targetPort: http
  selector:
    app.kubernetes.io/component: server
    app.kubernetes.io/instance: argo-cd-1729881606
    app.kubernetes.io/name: argo-cd
  clusterIP: 10.43.157.82
  clusterIPs:
    - 10.43.157.82
  type: ClusterIP
  sessionAffinity: None
  ipFamilies:
    - IPv4
  ipFamilyPolicy: SingleStack
  internalTrafficPolicy: Cluster
Change it to NodePort and add nodePort to the port options. This port needs to be with the range of 30000 and 32767.
spec:
  ports:
    - name: http
      protocol: TCP
      port: 80
      targetPort: http
      nodePort: 30000
    - name: https
      protocol: TCP
      port: 443
      targetPort: http
      nodePort: 30001
  selector:
    app.kubernetes.io/component: server
    app.kubernetes.io/instance: argo-cd-1729881606
    app.kubernetes.io/name: argo-cd
  clusterIP: 10.43.157.82
  clusterIPs:
    - 10.43.157.82
  type: NodePort
  sessionAffinity: None
  ipFamilies:
    - IPv4
  ipFamilyPolicy: SingleStack
  internalTrafficPolicy: Cluster
Now this is all good except by default, all connections will be secure so we need to adjust it. On each of the Kubernetes servers (just the main node), create a file called insecurePatch.yaml with the following:
apiVersion: v1
kind: ConfigMap
metadata:
  name: argocd-cmd-params-cm
  namespace: argocd
data:
  server.insecure: "true"
Now run the command:
kubectl apply -f insecurePatch.yaml
Now open a browser session and navigate to kubernetesIPAddress:30000
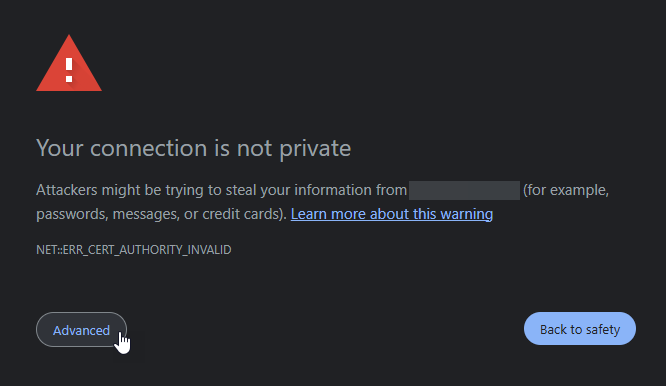
You may get the following error which you will have to bypass.
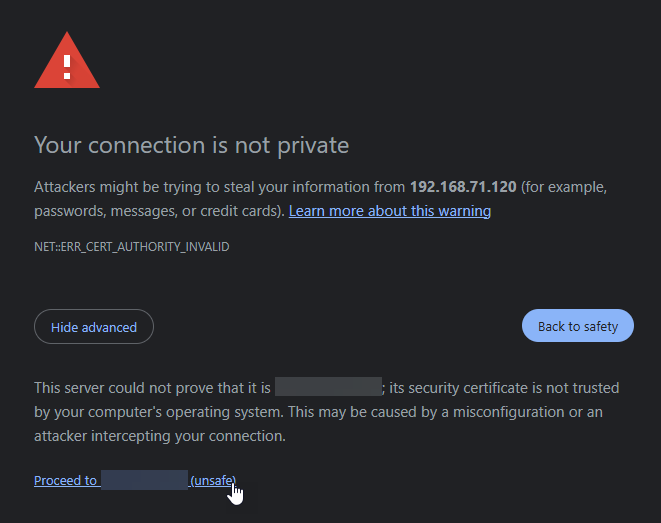
From there you can log into ArgoCD.
Obtaining SSH Keys
In order for argoCD to work with our workflows including having automation, it will need to be able to access our Git repositories and the only way it can do that is if we configure the SSH protocols for it. On the Kubernetes server nodes, ssh into the computer and run the following:
ssh-keygen -t rsa -b 4096
This will create two files in ~/.ssh called id_rsa and id_rsa.pub. Retrieve the public keys by running:
cat ~/.ssh/id_rsa.pub
Configure SSH Public Keys on GitHub
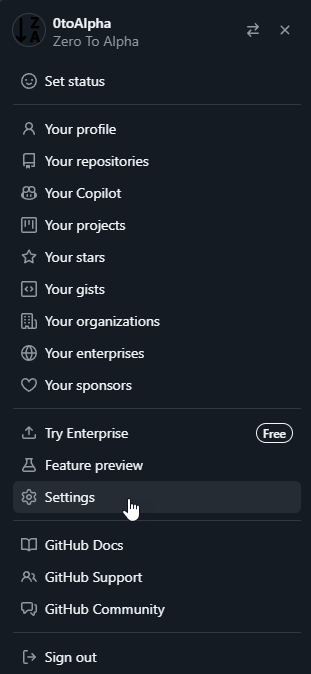
With the two keys, navigate to settings:
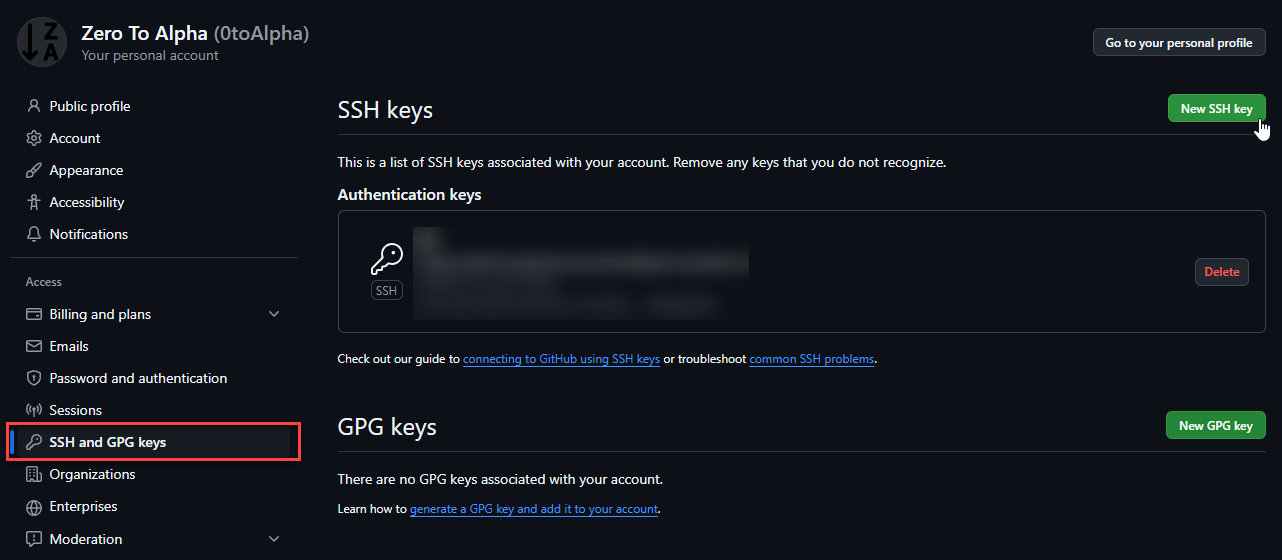
Open SSH and GPG keys and select 'New SSH Key':
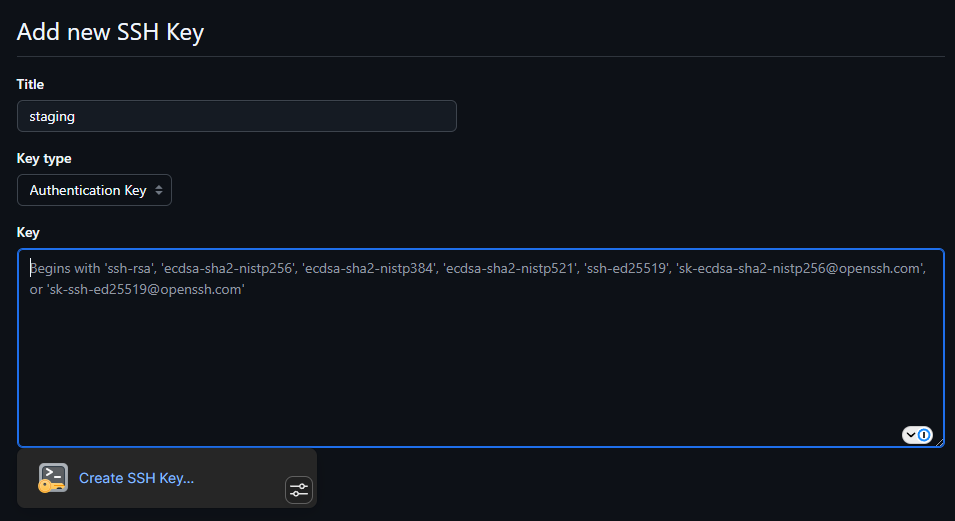
Copy the public keys into the settings and apply them.
Create ArgoCD manifest
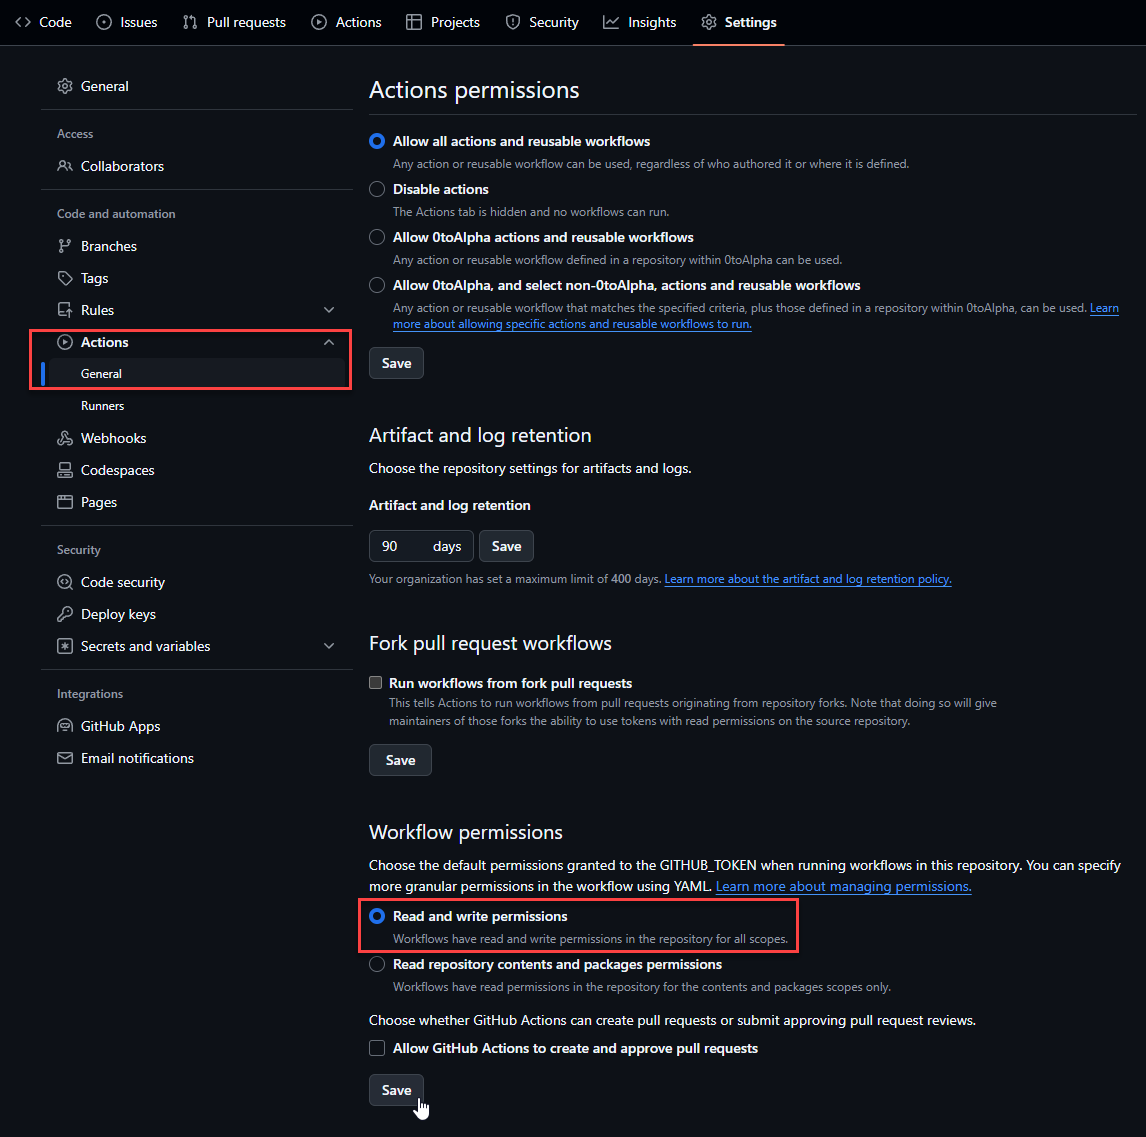
ArgoCD are manifests stored on GitHub so ArgoCD knows how to deploy containers. So on GitHub, we will create a few repositories and configure them to work on ArgoCD. For this example, we will create a git repository called argocd-services. Once created, we need to go to Settings > Actions > General and make sure we set Workflow permissions to 'Read and write permissions'. This is important as later, we will use GitActions on code repositories to build and push versions automatically. On build, these versions will update build tags as well as update the ArgoCD manifests telling kubernetes to update the container to the latest code.
